In the pre-digital era of print production, there were a few ways to spice up single-color line art with implied gray tones. Along with crosshatching, coquille board and screentone (most commonly called Zip-A-Tone), the richest and most expensive method was Duo-Shade by Grafix.
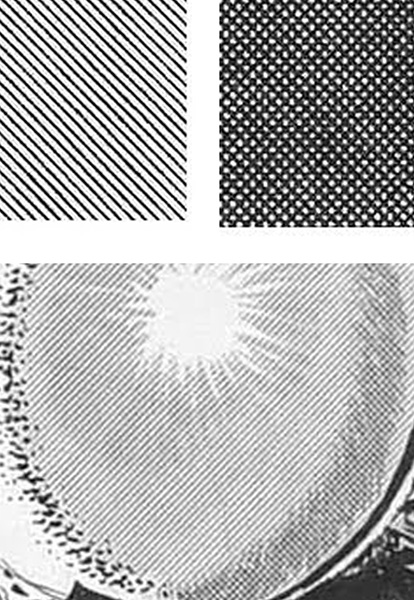
Ohio Graphic Arts Systems was founded in 1963, then became The Craftint Manufacturing Company, then Grafix in 1990. The product was officially called "Doubletone Drawing Board", but was more commonly referred to as Craftint (company name) or Duo-Shade (the 2-tone paper, as opposed to their single-tone Uni-Shade). The most popular pattern was Doubletone #214 (diagonal lines and crosses), though Howard Chaykin used #269 (mezzotint dots) on American Flagg!. Since the tones were a applied as wet media with a brush or pen, they looked more painterly than the cut-paper feeling of Zip-A-Tone.
Duo-Shade had two hidden tones, made visible with separately-purchased developer fluids. Dark tone developer (No. 21/31) revealed the darker tone, Light tone developer (No. 22/31) revealed the lighter one. (Watch Colin Panetta's video demo.) Masters of this technique include Roy Crane, Alex Toth and Wally Wood.
Graphix discontinued Duo-Shade and Uni-Shade in 2009, citing obsolescence from digital media.
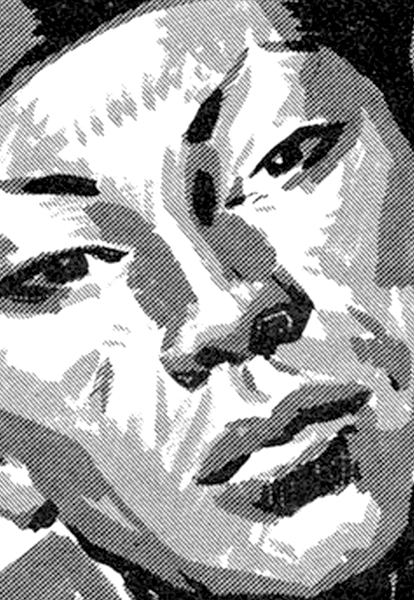

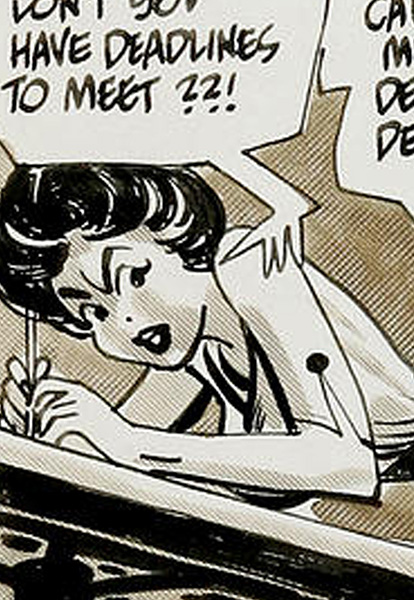
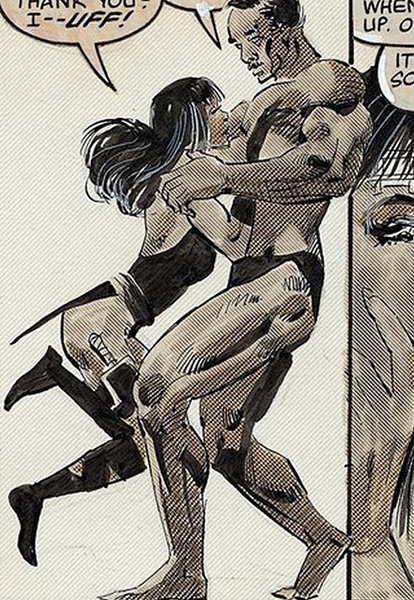
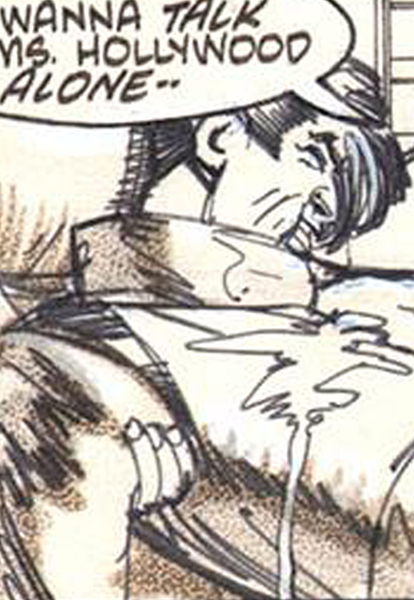
Examples by Andrew Loomis, Roy Crane, Alex Toth, Frank Miller and Howard Chaykin
Emulating Duo-Shade with Photoshop
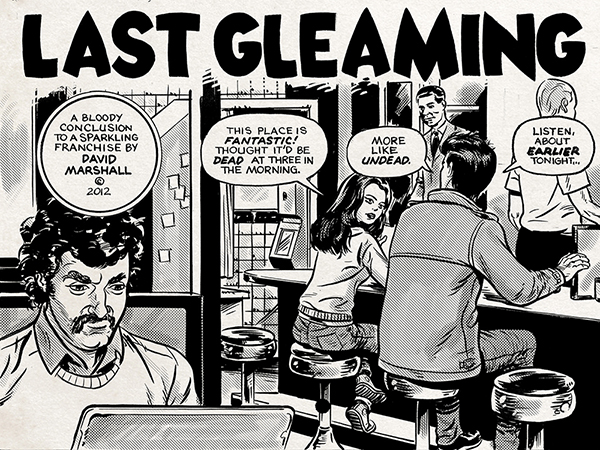
I've applied a Duo-Shade emulation with Photohop to "Inside the Dalek" and "Twilight’s Last Gleaming", matching Doubletone #214. The most common solution was to make a masked layer for each tone, "brushing" the mask away to reveal the tones. I was determined to use a pattern instead, eventually landing on this process:
- Fill a grayscale image entire square with 20% black. (I use 400ppi)
- Temporarily convert image to Bitmap: resolution 400, method Halftone Screen, frequency 25 lines per inch, 45 degree angle, with shape of Line.
- Define a pattern of this screen. To keep track, name the pattern with the style, tint and resolution (example: 20% crossed 25dpi 400ppi)
- Repeat process for 30%, 40%, 50% and 60% black.
- Make a new Photoshop test file , 7.5 x 10 inches, 400ppi grayscale. Apply your new patterns in flat squares. Print.
- Compare print test to original art (ideal) or printout of high-resolution scan of pages with Duo-Shade/Craftint.
- When satisfied, make a layer with a pattern overlay for each value (dark and light).


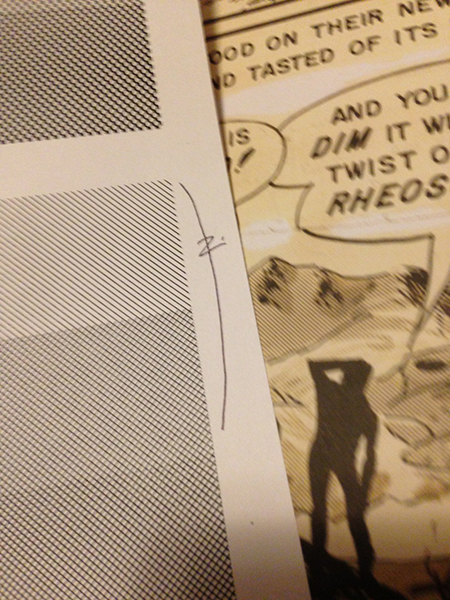
Comparing my test prints to Wally Wood EC Stories Artist's Edition
I tested my print tests against Duo-Shade pages of Wally Wood EC Stories Artist's Edition. My first tests were at higher line frequencies (85, 65, 50 and 30) didn't look good. Trial and error eventually lead me to 25. If done correctly, some art historian decades from now will think my work appeared in a Jim Warren Publication.
Dave M!, emulating obsolete techniques with modern technology since 1953.
PS: Roger, a friend from my old site, discovered an alternative method of using the halftone filter that doesn’t require converting to bitmap:
- Create a new document with a transparent background – dimensions and DPI your choice.
- Press the 'Q' button to enable quickmask.
- Fill the document with a % of black (you can even use a gradient if you like).
- While still in quick mask, with your red tinted document, choose – filter-pixillate-color halftone.
- Set your dot size (in quickmask, the only screen angle setting which has any effect is the first one – channel 1).
- Click OK.
- Your document will now have the red quickmask as a page of your dot screen
- Press “Q” again to release from quickmask.
- Your document will be a shimmering selection.
- Fill with black.
- With the selection still enabled, create a new layer.
- Turn off the firts layer, select the new layer and invert the selection.
- Fill it with black.
- You’ll have two patterns one black dots on 'white', the other white dots on black.
I paste these into the Photoshop document I want to use them in inside a masked layer. I option click on the mask and fill it completely with black. Then, with the mask selected I start to paint white into it, revealing the dot screen.