Brief history
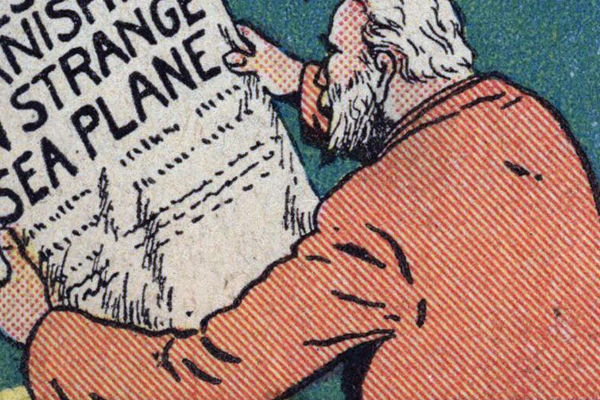
I got fascinated with striped color screens a few years ago. Dot patterns are the standard approach of expressing a wide range of colors with 25%, 50%, and 100% values of cyan, magenta, and yellow inks. These striped screens only appear in early Golden Age comics, solely applied to the 50% values. Screen angles and lines-per-inch varied, sometimes in the same story!
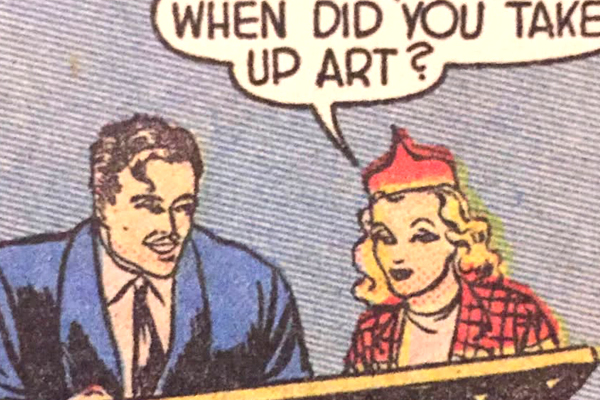
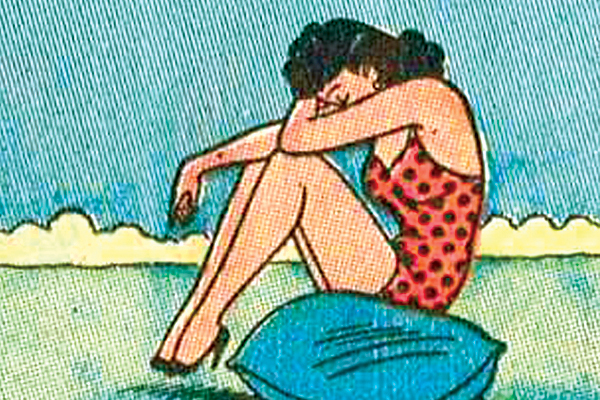
Legion of Andy's extremely detailed blog cites an industry-wide transition from Ben Day to Craftint, but doesn't say exactly why or when the line screens stopped. Phil Normand dives into the physical realities of the Ben Day process for Sunday Strips (especially Hal Foster's).
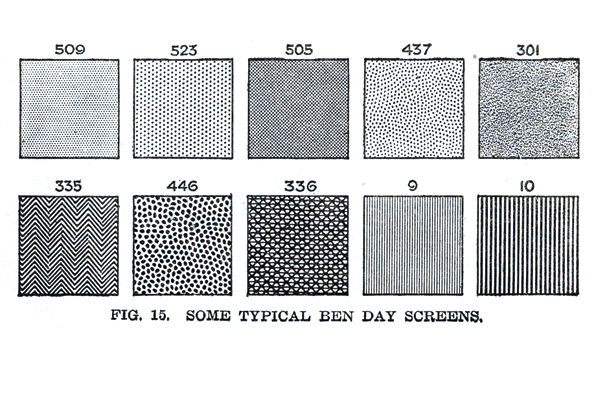
Ben Day's ability to produce tones between 10-100% earned Hal Foster's appreciation. Screen tints were made with mechanical dots, parallel lines, and various patterns (geometric, textured, and stippling).
Artists loved it, but production departments felt it was too slow and expensive. DC production manager Sol Harrison said the industry wouldn't've survived if it kept Ben Day. "They had to find faster ways of making the color separations."
This opened the door for Craftint in 1937. It was cheaper and easier to use, but the tint range was limited to 25%, 50%, and solid 100% values. Adoption documentation's sketchy, but the transition from Ben Day to Craftint seems to be 1934-1939. Marvel kept using Ben Day on covers well into the Bronze Age.
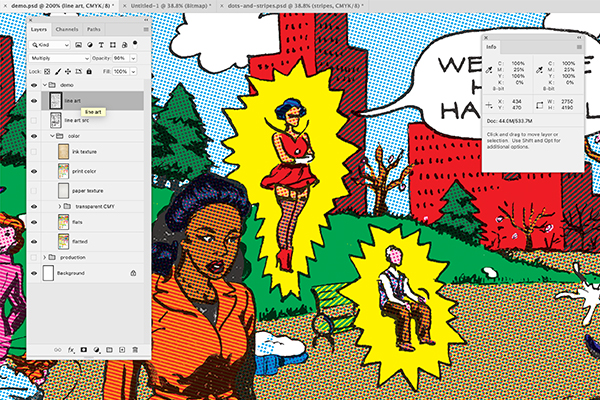
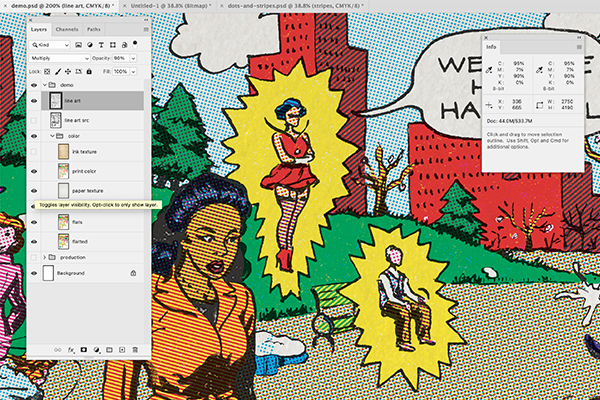
Demo: Dot and line screens on the same page
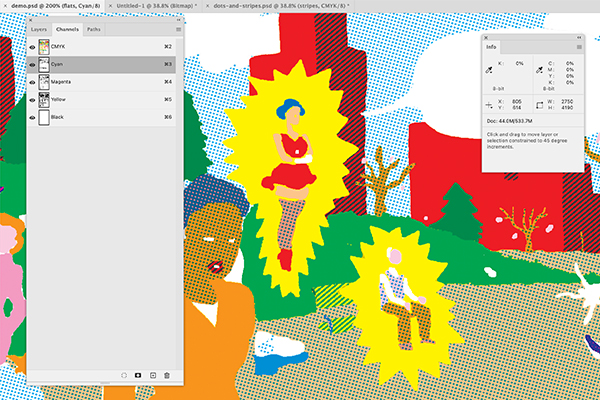
Extending my Silver Age color emulation technique, this channels manipulation method combines dot and line screen tones for each cyan, magenta, and yellow channel. This was a lot easier in the stat camera/physical line screen era.
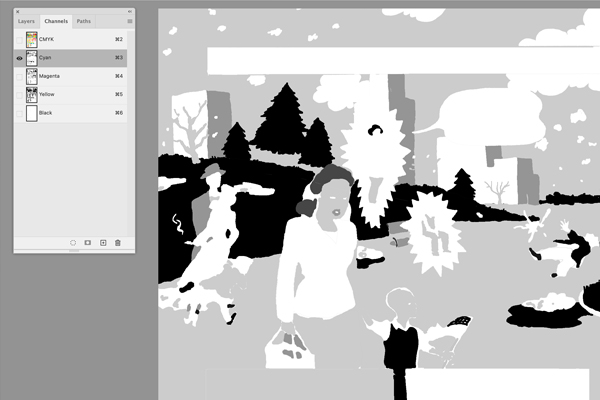
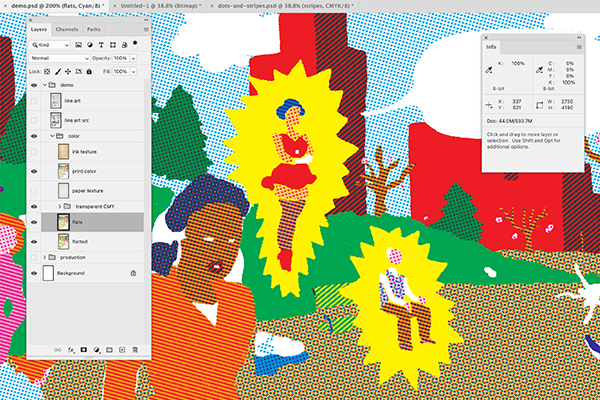
This demo page is colored in the 64-color palette. Confirm you're editing a single color layer in image mode CMYK, hide the black line art layer.
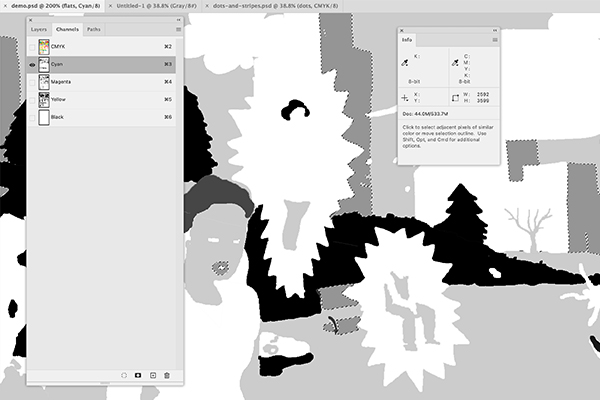
To mimic the hand-separated color process, every shape should look like it was manually cut with an Xacto knife. Modify edges of composite colors (like 100% cyan and yellow for grass green) so each looks slightly different in print. Other subtasks:
- Delete "ghost lines" caused by anti-alias selection.
- Fill spaces between areas of the same value (to resemble a single piece of film).
- Create white shapes behind a few solid blacks on the black channel (to reveal raw paper texture when black layer set at multiply with 90-95% opacity).
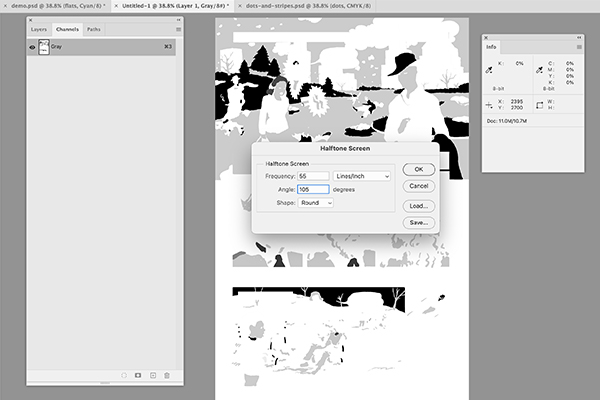
In your new grayscale/bitmap conversion file, follow the phase one instructions of my Silver Age color emulation technique. At 400ppi, I settled on 55 lines per inch. You may want to go higher or lower. Golden Age comics production wasn't entirely consistent, so feel free to recreate its chaos.
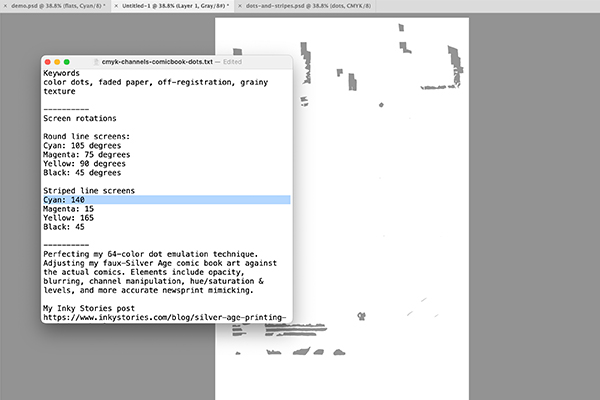
Here are the Halftone Screen angles (what we called screen rotation in the pre-digital era) I normally use for dots:
- Round line screens
- Cyan: 105 degrees
- Magenta: 75 degrees
- Yellow: 90 degrees
- Black: 45 degrees
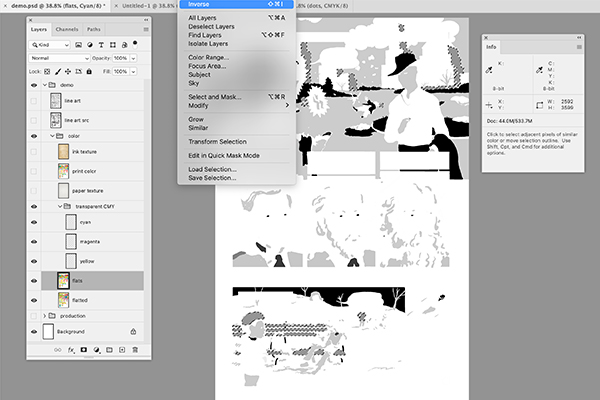
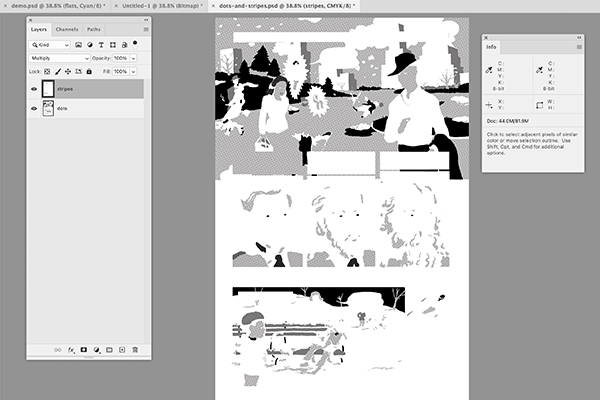
When satisfied, select all and copy/paste bitmap dots into a second new grayscale document (call it something like dots and stripes to distinguish it from the grayscale/bitmap conversion file).
Undo the grayscale/bitmap conversion file until it's blank and grayscale. Paste the 50% values from the original file
Repeat the grayscale/bitmap Halftone Screen method, but this time change the shape to Line. Golden Age line screens had different angles, often within the same story. These values were determined by quickly reviewing printed comics, and are only meant as a guide:
- Striped line screens
- Cyan: 140 degrees
- Magenta: 15 degrees
- Yellow: 165 degrees
- Black: 5 degrees
When satisfied, select all and copy/paste bitmap line screens into another layer of dots and stripes file.
This is briefly covered in the phase two instructions of my Silver Age color emulation technique. I've added new tweaks in more recent works ("Quasara: Into the Fletcherverse", "The Case of Dave vs. Dave!", and the second page of "Frank’s Next Mission") to more closely match actual printed comics. Enhancements include playing with opacity, blurs, and scratching up the process layers.
Those enhancements need be documented in a future article.
Dave Marshall, coloring comics in the school they tore down to build the old school


